
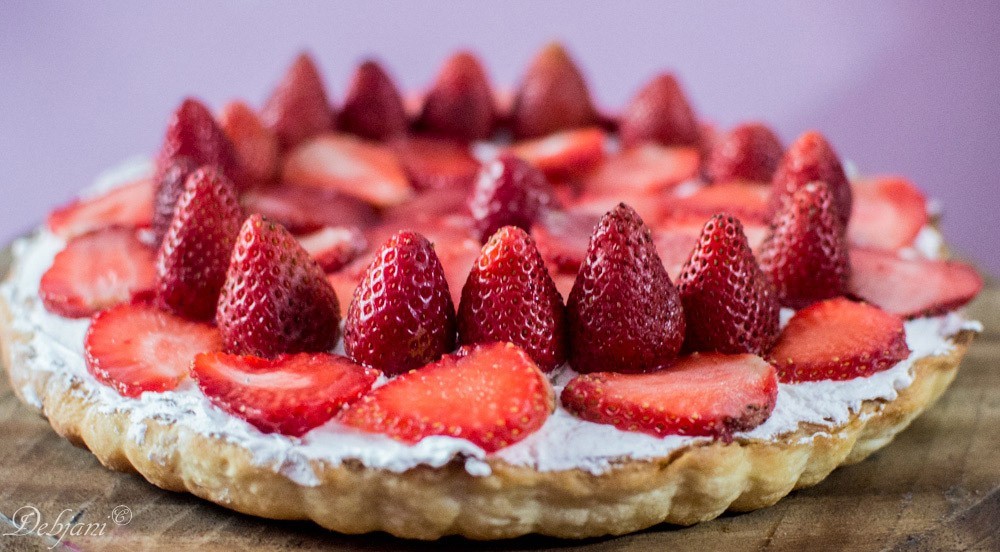
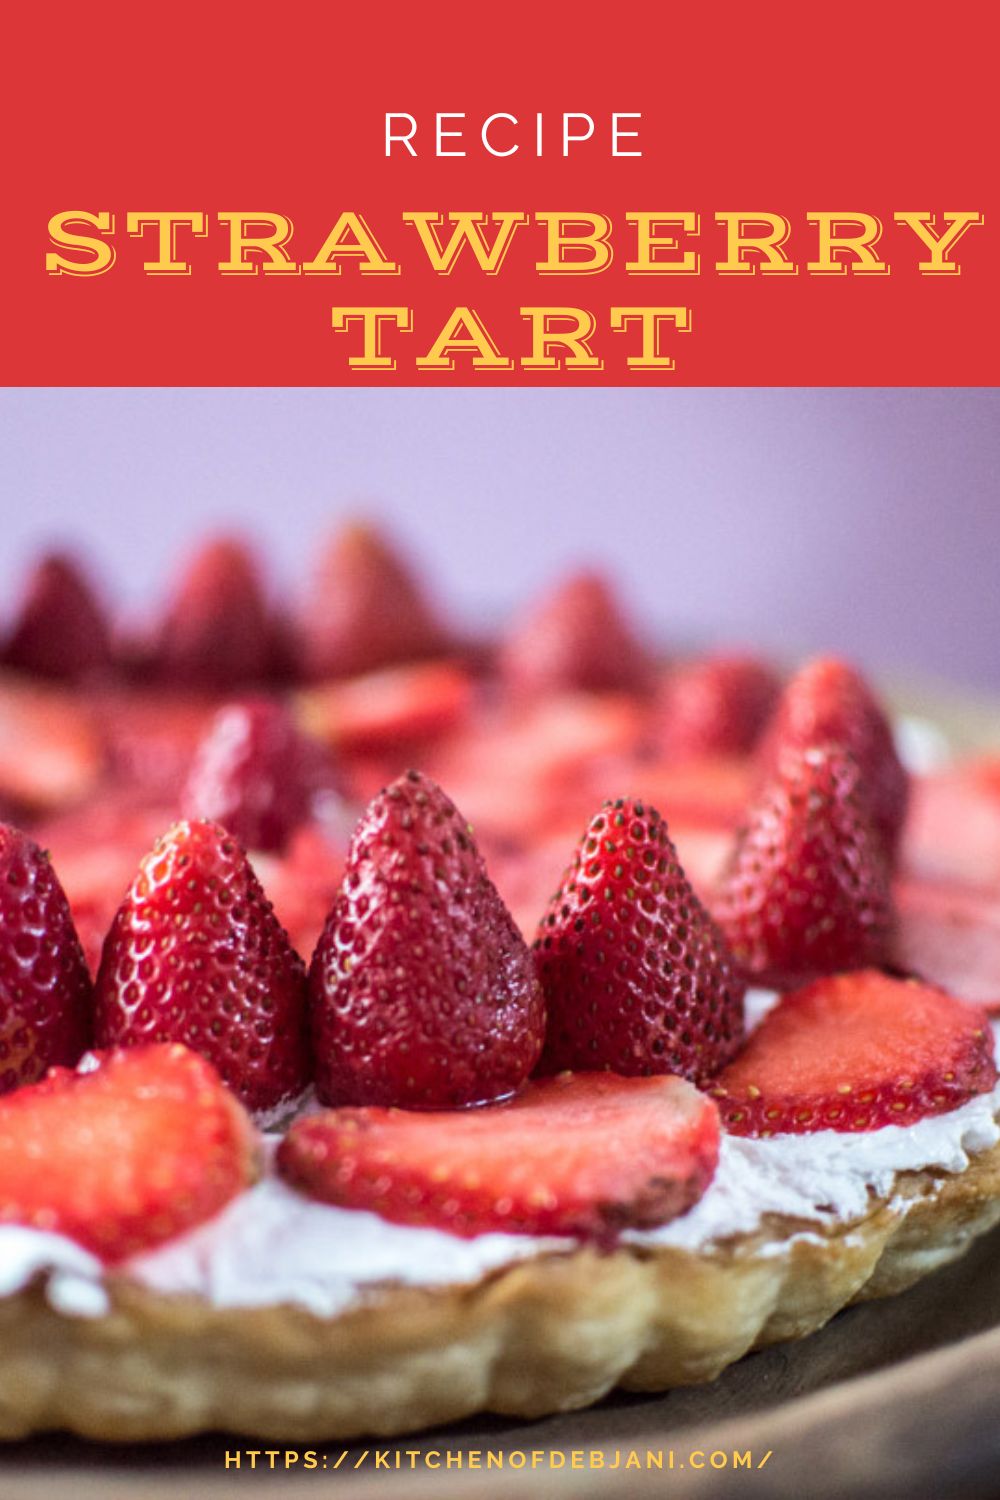
Treat yourself to the simple pleasure of a homemade Strawberry Tart! This recipe is a delightfully easy way to bake a stunning and delicious dessert, perfect for any gathering.

Jump to:
As many know, I'm all about keeping things easy and quick, especially when it comes to cooking. My daughter Pasta knows this well! I prefer fuss-free recipes, so I can relax with a book, a coffee, or even just nap with my little one. But don't worry, this Strawberry Tart recipe is incredibly simple without sacrificing taste or looks - at least, that's what Pasta says! It's a straightforward dessert featuring one of my favorite seasonal fruits: strawberries.
I always find myself making something with strawberries each season, and this year is no different.
Strawberry Recipes
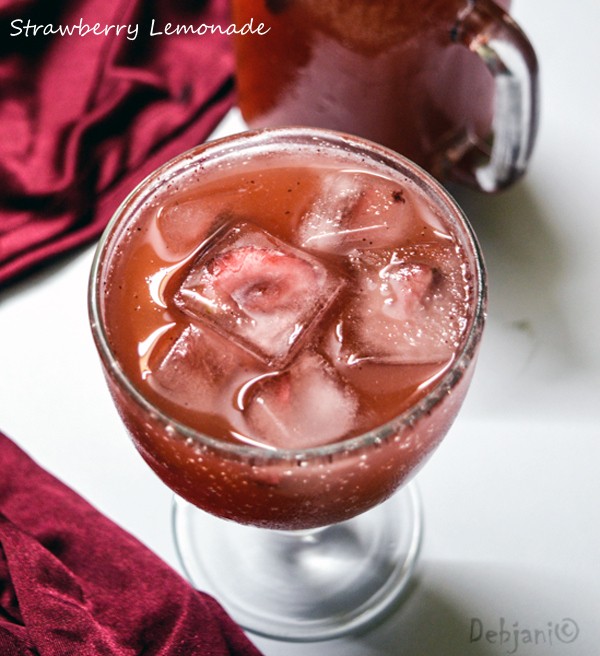
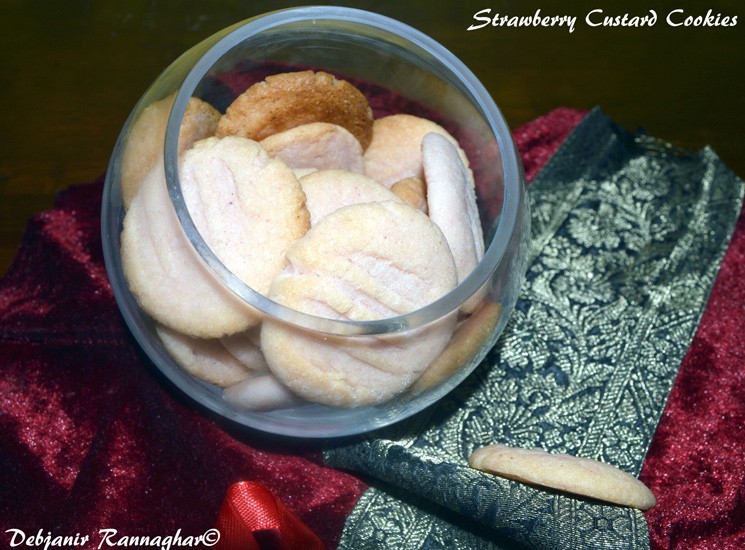
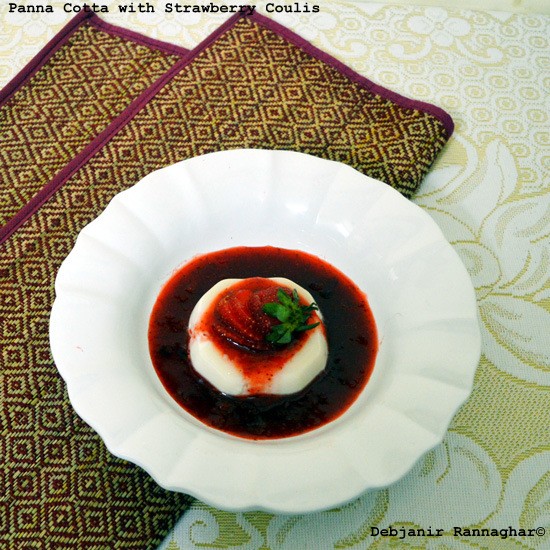
Here you'll find recipes for Strawberry Panna Cotta, Strawberry Coulis, Strawberry Custard Cookies, No-Churn Strawberry Ice Cream, Strawberry Lemonade, and more! Strawberries are a favorite of mine, Pasta's, and Mehebub's. While Pasta and her dad enjoy them best in recipes, I can eat strawberries any way they come. The little one even wanted seconds, and my husband loved the filling!
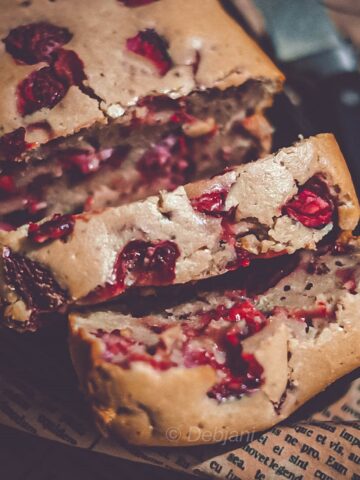
- Moist Strawberry Loaf Cake
- Strawberry Banana Smoothie
- Eggless Strawberry Oatmeal Bars Recipe | Strawberry Oatmeal breakfast bars
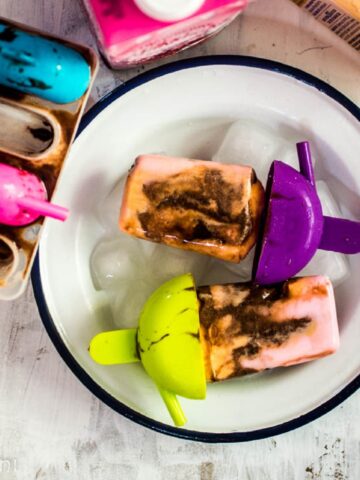
- Choco-Swirled Strawberry Cashew Butterscotch Popsicles with Cavin's Milkshake!
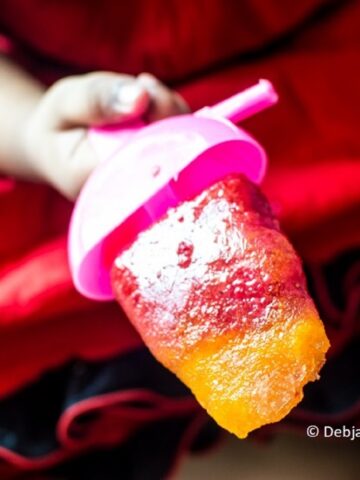
- The Sunshine Girl and her Strawberry Orange Popsicle
- Strawberry Lemonade
- Strawberry Custard Cookies
- Panna Cotta with Strawberry Coulis


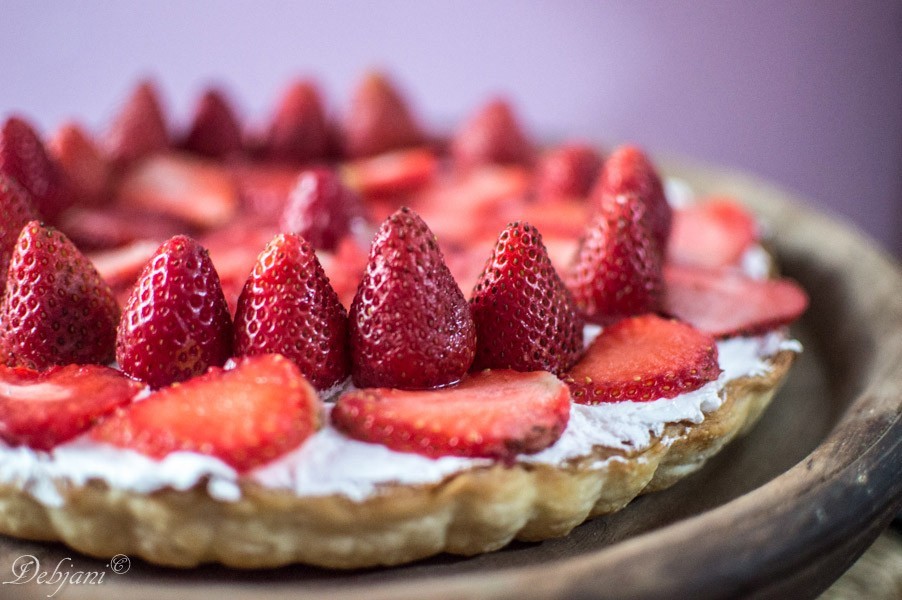
Simple Strawberry Tart Recipe
Strawberry Tart marks the beginning of my strawberry-themed recipes for 2017, and I'm already planning several more! Tupperware sent me their Silicone Queen Mold a month ago, and while I've baked a few cakes with it, I wasn't happy with the photos. Finally, I decided to create something special with strawberries, resulting in this delightful Strawberry Tart.
The Tart Mold
This shallow, round, Queen-shaped silicone mold is ideal for baking traditional pies, flans, sweet or savory quiches, or even pizzas in the microwave or conventional oven. It can handle temperatures from -25°C to 220°C.
For this tart, I used a conventional oven to bake the base. It turned out beautifully, likely due to the mold's flexibility and non-stick finish. The mold has a market price of INR 1990. While I don't typically use silicone molds, I found this one particularly useful, especially for those new to baking. In fact, the recipe I'm about to share is incredibly simple, perfect for beginners to bake and decorate with ease.
Recipe Tips
This strawberry tart features a creamy filling made with cream cheese and heavy cream. I've topped it with fresh strawberries for a beautiful presentation. The recipe is simple: just bake the tart base, then fill it with the easy cream cheese mixture for a delightful dessert.
Recipe Card
Strawberry Tart
Ingredients
To make the Tart Base
- 350 g All Purpose Flour 2.5 Cup
- 200 g Unsalted Butter
- 1.2 teaspoon Salt
- 1 tablespoon Powdered Sugar
- 120 ml Iced chilled Water ⅔ Cup, to be used based on requirement
To make the Tart Filling
- 250 ml Whipped Cream / Heavy Cream
- 150 g Cream Cheese
- 100 g Castor Sugar
- 4-5 Drops Vanilla Essence
- 400 g Strawberries Fresh
Instructions
How to make the Tart Base

- Cut Butter into small cubes and refrigerate for 30 minutes. I prefer to place it in a deep fridge.
- Take the All-Purpose Flour and salt, sift them twice, and then refrigerate them for 30 minutes.
- Place the Bowl to be used for making the Tart crust and the mixing attachment of the mixer.
- I use a hand mixer to make the pie crust. along with a fork in the refrigerator for 30 minutes.
- In half a cup of chilled water, add 2-3 ice cubes and deep fridge for 10 minutes.
- Now take the Flour and mix powder sugar with it and fold lightly.
- Add chilled butter chunks to the bowl and, using the chilled fork, start cutting the butter chunks. Mix with the All-Purpose Flour until the butter chunks break into peanut-size pieces and the mixture turns into a crumbly mix.
- Place the mixture in the deep fridge for 10 minutes again and then take it out.
- Add a little ice-cold water to it. Start adding by 1 Tbsp. First and mix using the hand mixer and add a little more water, then knead.
- I ended up kneading after adding around ½ Cup ice-chilled water, and it is better not to add extra water or knead in excess.
- There should be little peanut-sized butter chunks visible in the Tart crust once the kneading is finished.
- Wrap the Crust with cling film and place it in the deep fridge for around 30 minutes before baking it.
- Preheat the oven to 180 degrees C.
- Using a Rolling Pin, roll the Crust into a half-inch thick flattened round crust sheet and place that carefully over the Tart mold, for which I have used the Tupperware Queen Silicone mold.
- Bake for 20 minutes at 180 degrees C and after baking, cool it on a wire rack before filling the same with the tart filling.
Filling the Tart and Decoration to make Perfect Strawberry Tart

- Refrigerate both Heavy Cream and Cream Cheese for 2-3 Hours before using them.
- Now, take the Heavy cream in a big bowl and, using the whipping attachment of the mixer (I have used a hand mixer), beat the cream until stiff peaks form.
- Take the Cream cheese in another bowl and using the same attachment, cream it, and it will take around 5 minutes if a hand mixer is used.
- Add Castor sugar and Vanilla essence and mix properly.
- Now, start adding the whipped cream in the smaller portions to the Cream Cheese mixture and fold lightly.
- Refrigerate the mixture for 10 minutes.
- Now cut strawberries into the desired shape, or you can use whole strawberries. I have used both.
- Now top the baked Tart base with the cream mixture and using a spatula, flatten the same and decorate the tart with the strawberries and refrigerate before serving.
Notes
Notes
For the perfect tart shell, be gentle with the dough! Mix the butter and flour just enough, avoiding over-kneading. Chill the dough in the refrigerator before shaping it for baking; using cold dough is key. And remember, using the best quality strawberries is a must for a truly delicious tart.Nutrition

Have you tried the Strawberry Tart recipe from Debjanir Rannaghar?
Please inform me of your experience, and feel free to send a photo to [email protected]. Additionally, you can find me on various social media platforms such as Instagram, YouTube, Facebook, Pinterest, Google News, X, and Thread. Don't forget to use the hashtag #debjanirrannaghar when sharing your attempts at my recipes or if you have any questions or recipe requests.
Here's the Strawberry Tart Recipe Pin for your Pinterest Board
Disclaimer: Tupperware sent the Silicone Queen Mold for review to Debjani.

About Debjani Chatterjee Alam
I am Debjani Chatterjee Alam. A CSR specialist by profession and a food writer, food blogger, and food photographer as well. I live in Kolkata along with my Husband Mehebub who is an architect by profession, my daughter Pasta, and also my dog daughters Coffee and Luchi.


Leave a Reply