
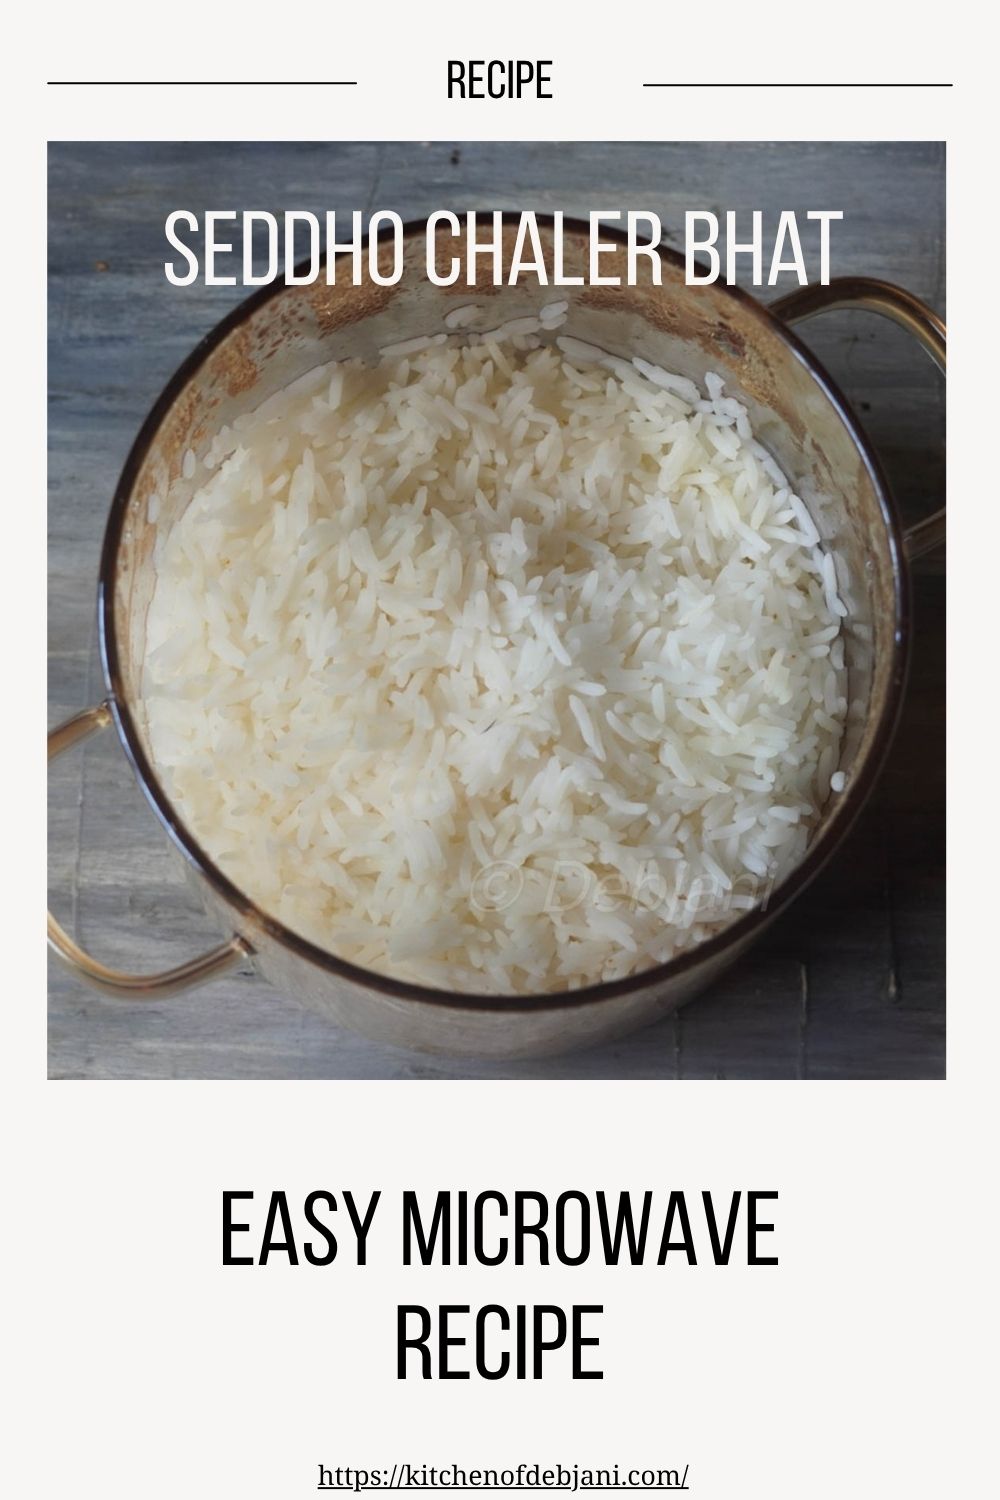
Here's how to make perfect, fluffy Seddho Chaler Bhat in the microwave. By the way, Seddho chal and Seddho Bhat are two different things. Seddho bhat can be made with any type of rice, but "Seddho Chal" refers to parboiled rice. Therefore, Seddho Chal and Seddho Bhat are distinct terms. Boiled rice prepared with Seddho Chal, which is parboiled rice, holds significant importance in everyday Bengali cooking. Let's explore why and how.
As you read this recipe, I also want to share two other microwave-cooked rice recipes: Basmati and Gobindobhog rice.
Jump to:
- About the recipe
- Debjani's Note
- Step-by-step Instructions - Seddho Chaler Bhat in Microwave
- Frequently Asked Questions
- Related Rice Recipes
- Pairing
- Recipe Card
- Have you tried the Seddho Chaler Bhat cooked in a microwave from Debjanir Rannaghar!
- Here's the seddho chaler bhat in a microwave Recipe Pin for your Pinterest Board
About the recipe
Before we dive into the microwave recipe for Seddho Chaler Bhat, let's clarify a few things. First, what exactly is Seddho Chal? Seddho Chal is parboiled rice that has been partly boiled while still in its husk before being milled. This parboiling process helps keep vital nutrients, like vitamins B6, B3, and B1, in the rice grain, making it healthier than regular white rice. This recipe is particularly meaningful to me because it's the rice I eat daily at home. It's the main rice used for everyday meals in Bengali homes. Finally, let's explore why a microwave recipe for cooking Seddho Chal is so useful. Finally, why a microwave recipe for cooking Seddho Chal?
The reason is simple: the method differs significantly from cooking basmati rice or gobindobhog rice in the microwave. I felt it was essential to include this recipe. Otherwise, any discussion about everyday cooking in a Bengali home, especially when using alternatives to LPG, would feel incomplete without it.
You'll find easy instructions for cooking this seddho chal er bhat in a microwave within the recipe card. You can also cook it the traditional way on a stovetop or in a rice cooker. Please let me know if you'd like me to share those methods too.
Debjani's Note
I was discussing my new microwave recipes with Maa the other day. I mentioned I had already written a few and planned to write more after covering some other dishes. My mother then said something I couldn't ignore: "You should write about the dish that we, and most Bengalis, eat every single day - 'bhat,' which is cooked parboiled rice - seddho chal-er bhaat. We don't regularly eat white rice, like 'atop chal'." I realized she was absolutely right. This is a fundamental part of our diet. Bengalis rarely eat white rice varieties such as Gobindobhog, Basmati, or Tulaipanji atol chal daily. Instead, we consume parboiled rice. So, yes, this recipe is essential. Even though I have festive recipes planned, it's important to cover the basics first. And so, I will.
I understand that sharing a recipe for cooking rice, even in a microwave, might seem incredibly basic. However, this is my third rice recipe, and I'm adding it to Debjanir Rannaghar because I believe everyday cooks like me will appreciate these simple instructions. That's why I'm sharing this microwave seddho chaler bhat recipe, to show you how easily you can make perfectly fluffy parboiled rice. This method helps avoid the mushy outcome, also known as Gola Bhat, that can happen if it's not prepared correctly.
Step-by-step Instructions - Seddho Chaler Bhat in Microwave
-
Here's how to perfectly cook parboiled rice, or "seddho chaler bhat," in your microwave.

-
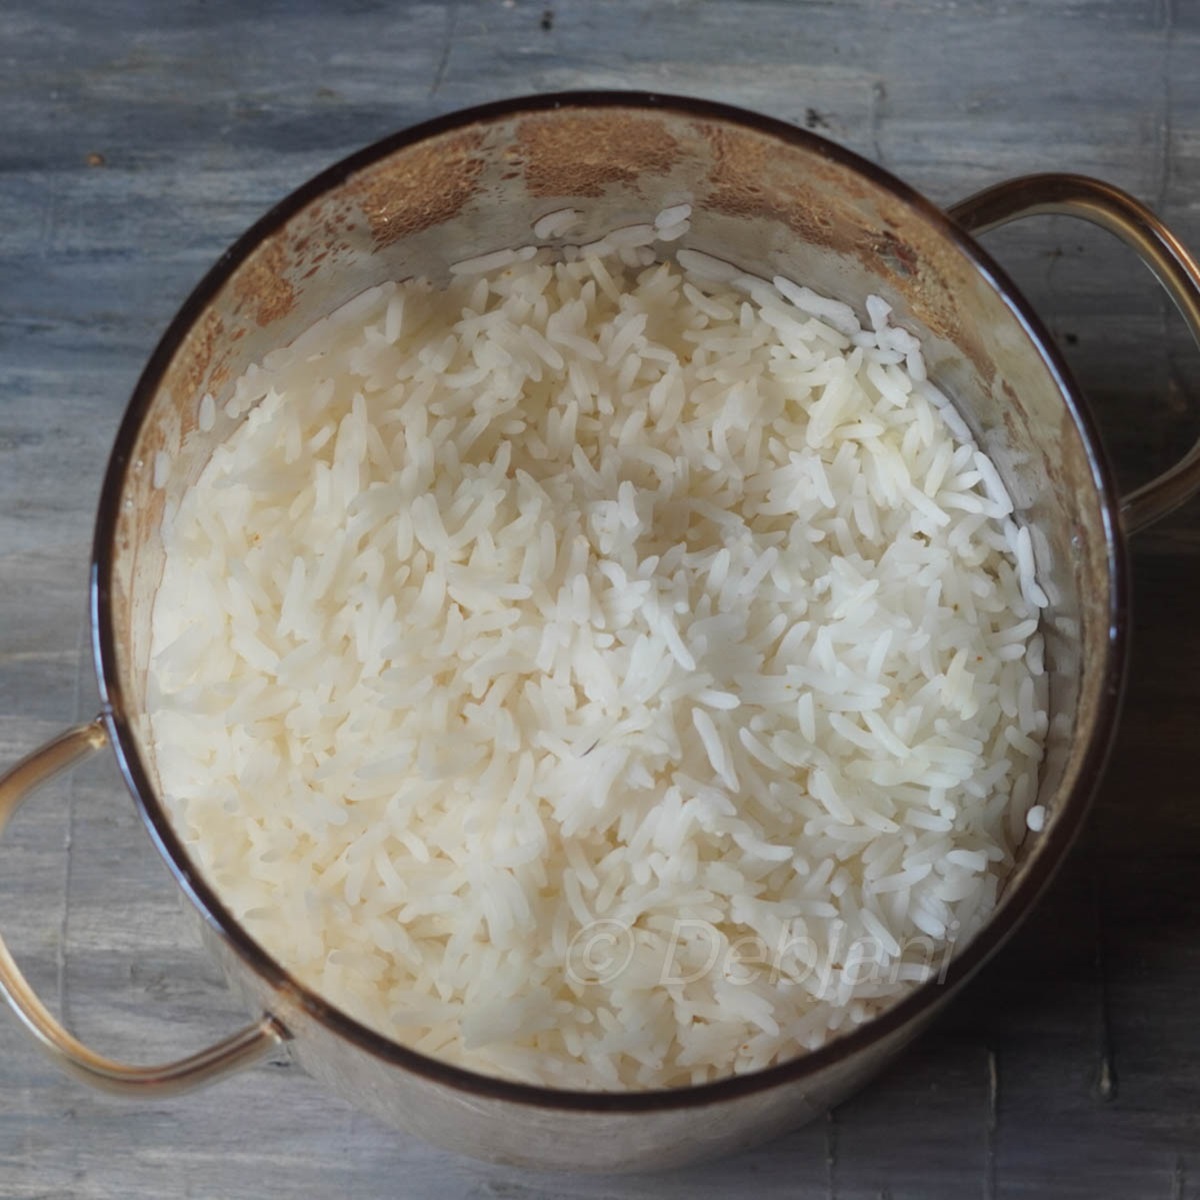
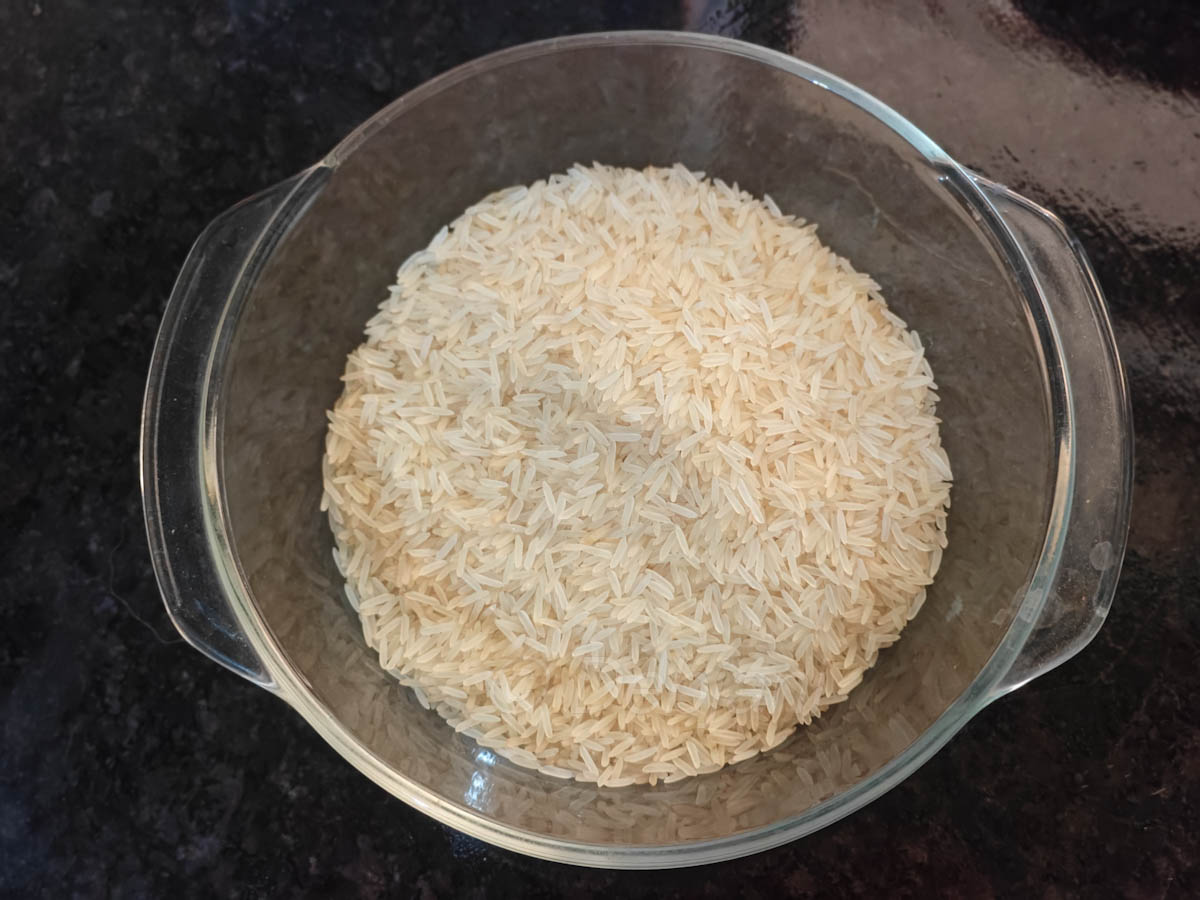
We'll be using regular premium Banskathi rice, about 1.5 cups (around 200g).

-
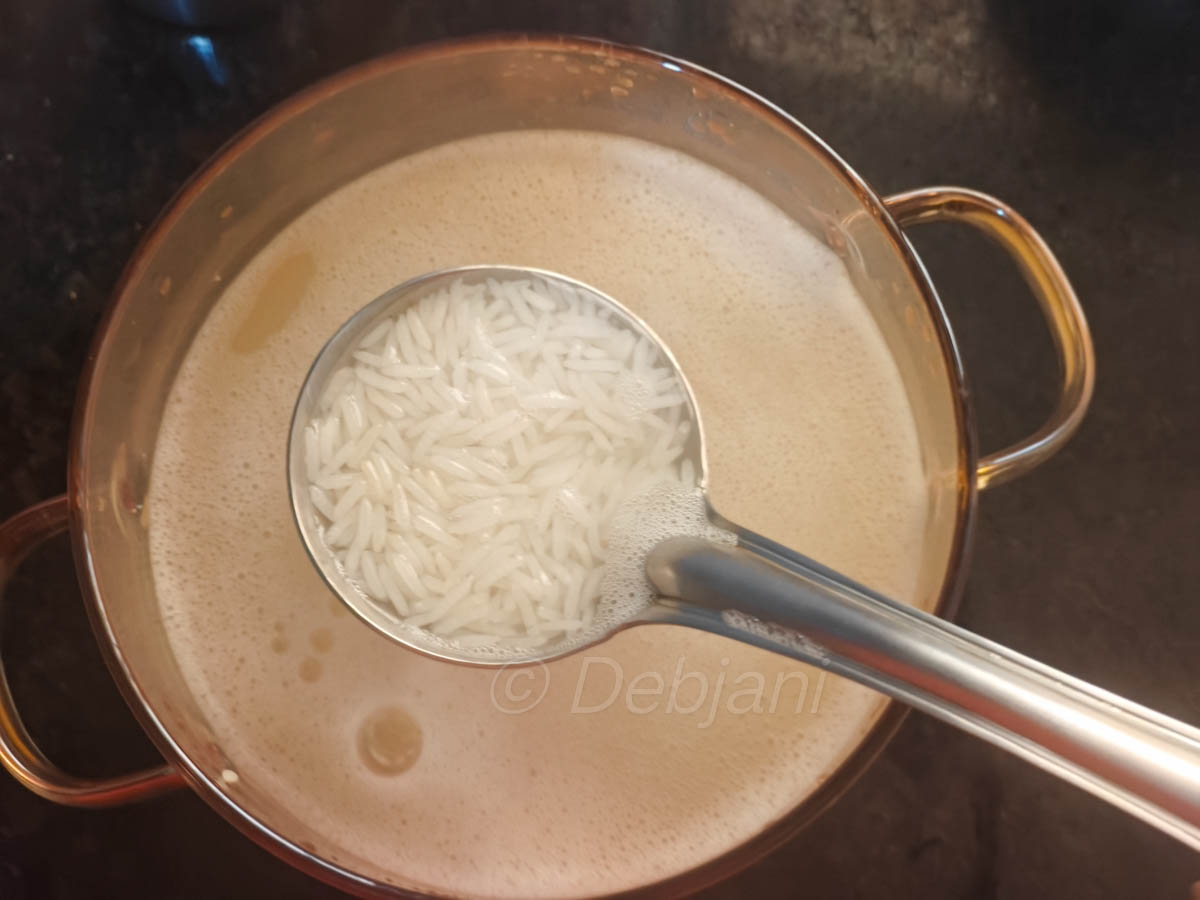
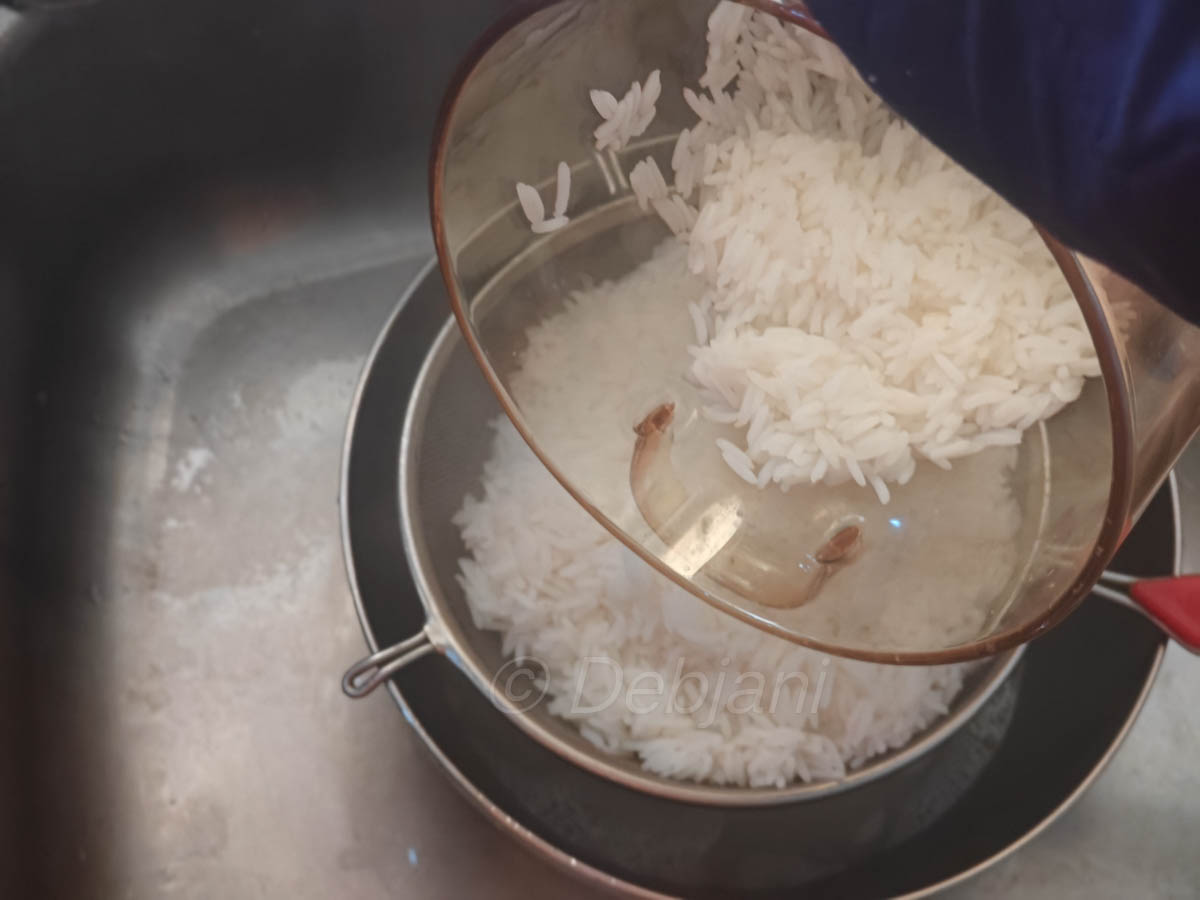
First, wash the parboiled rice thoroughly under running water three to four times until the water runs clear. Then, let the rice soak in water for 30 minutes before you start cooking.
-
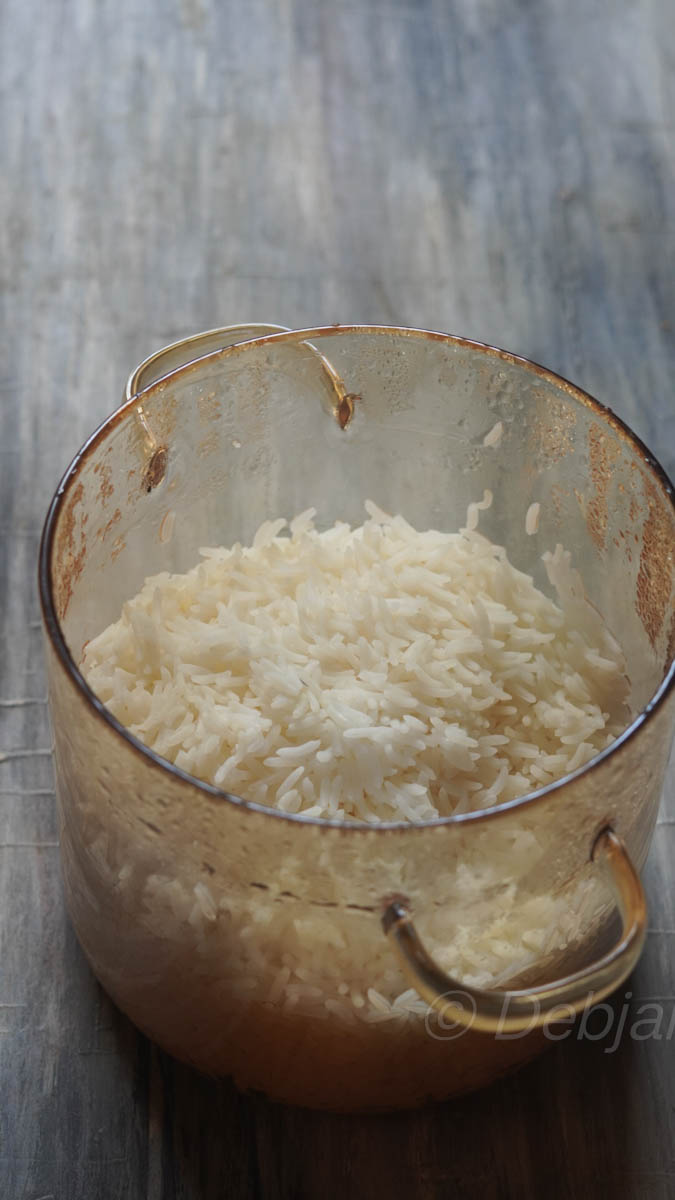
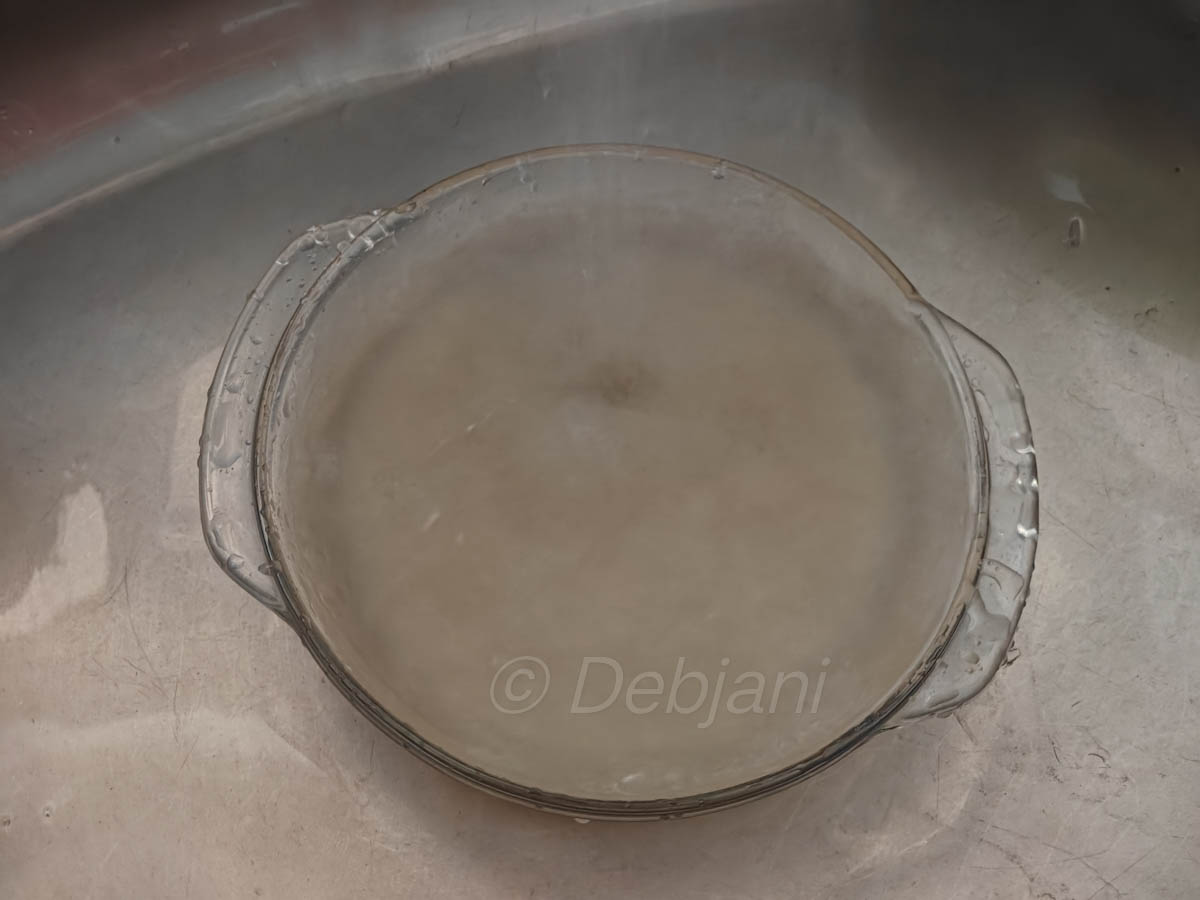
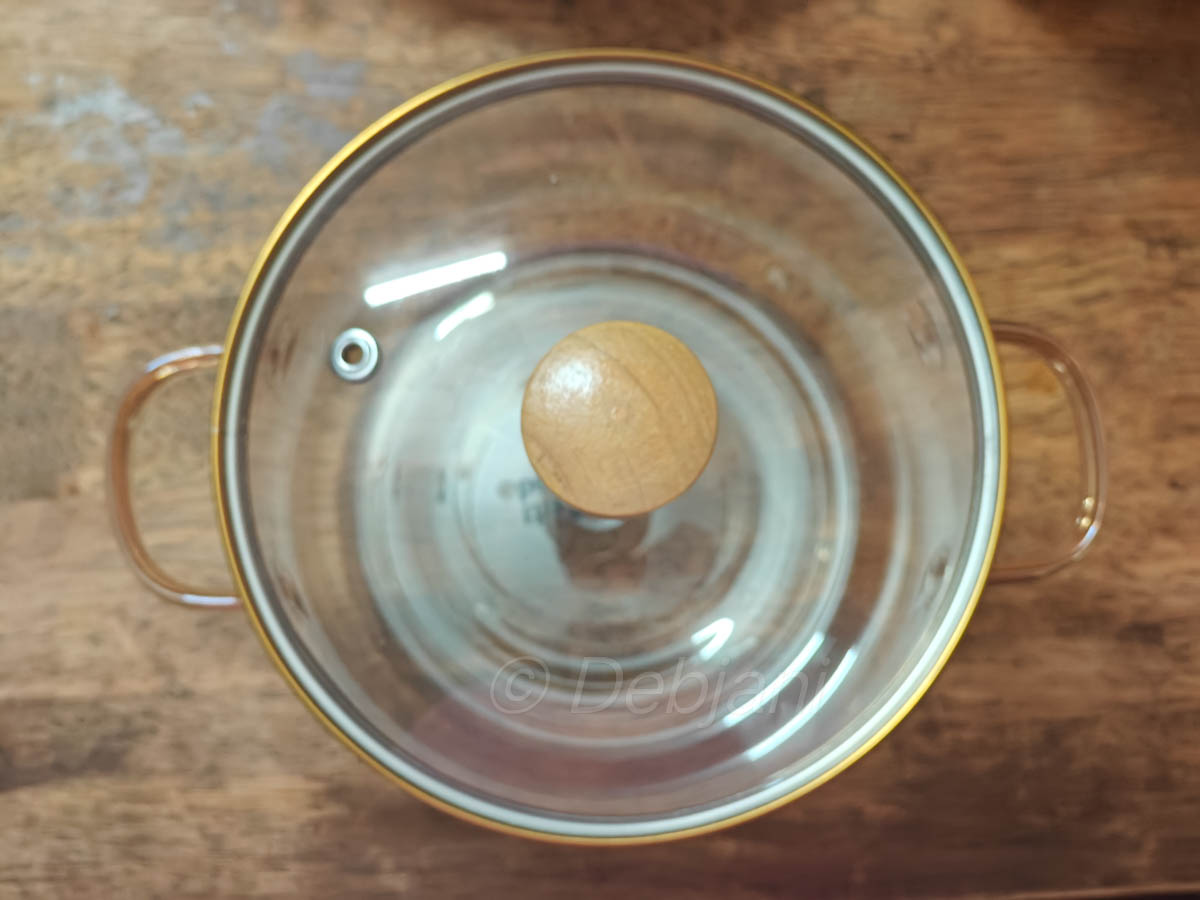
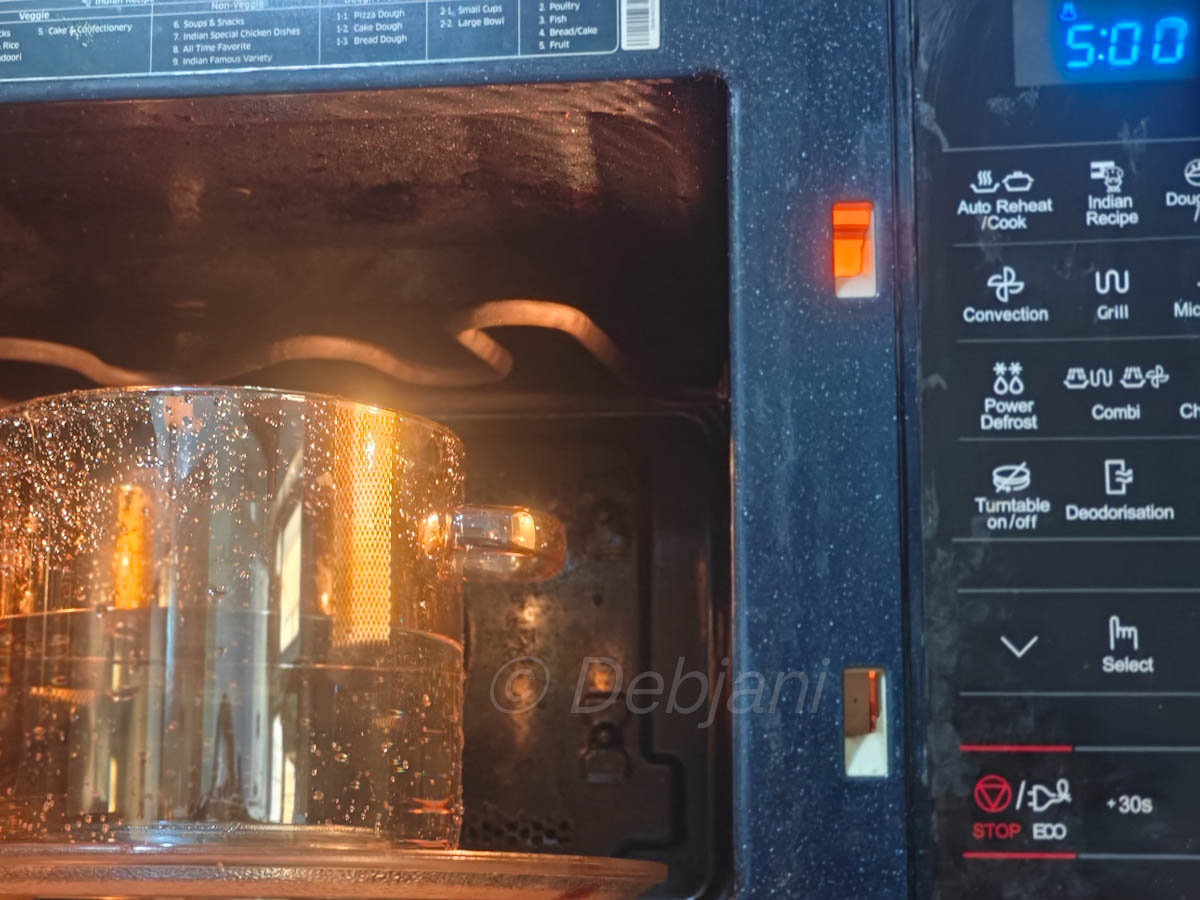
Next, choose a deep, microwave-safe bowl or pot with a lid.
-
Fill about half of the bowl with water; you can even go up to two-thirds. (Refer to the picture for guidance.
-
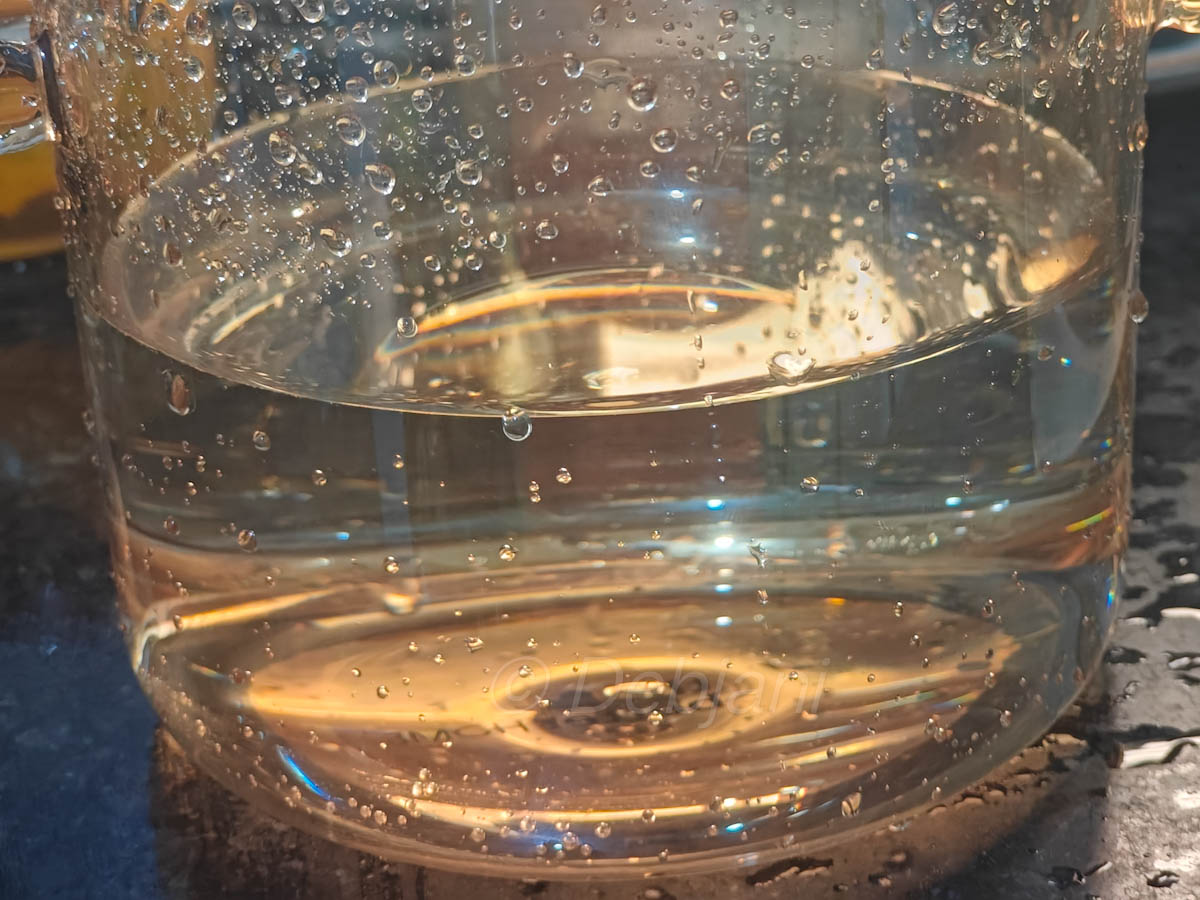
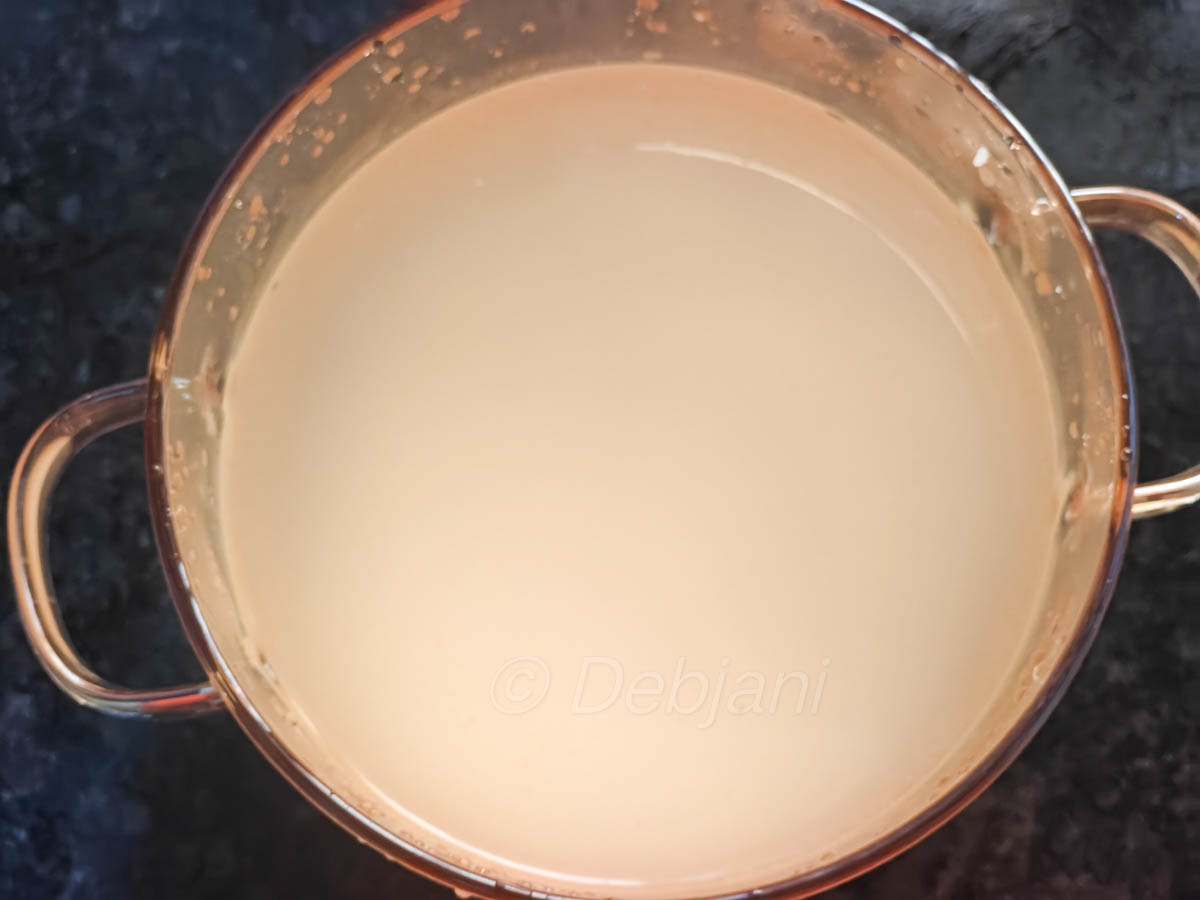
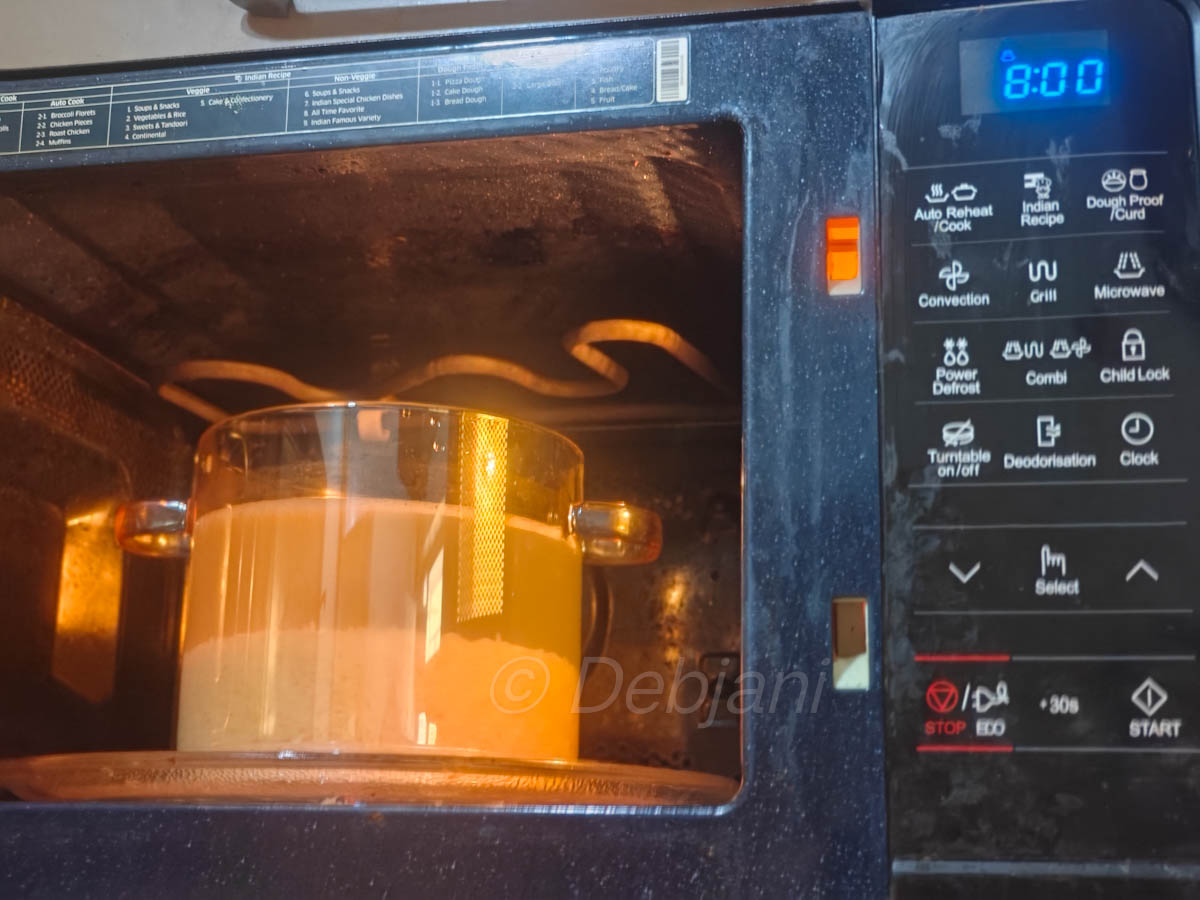
Heat this water in the microwave on high (900 watts) for 5 minutes.
-
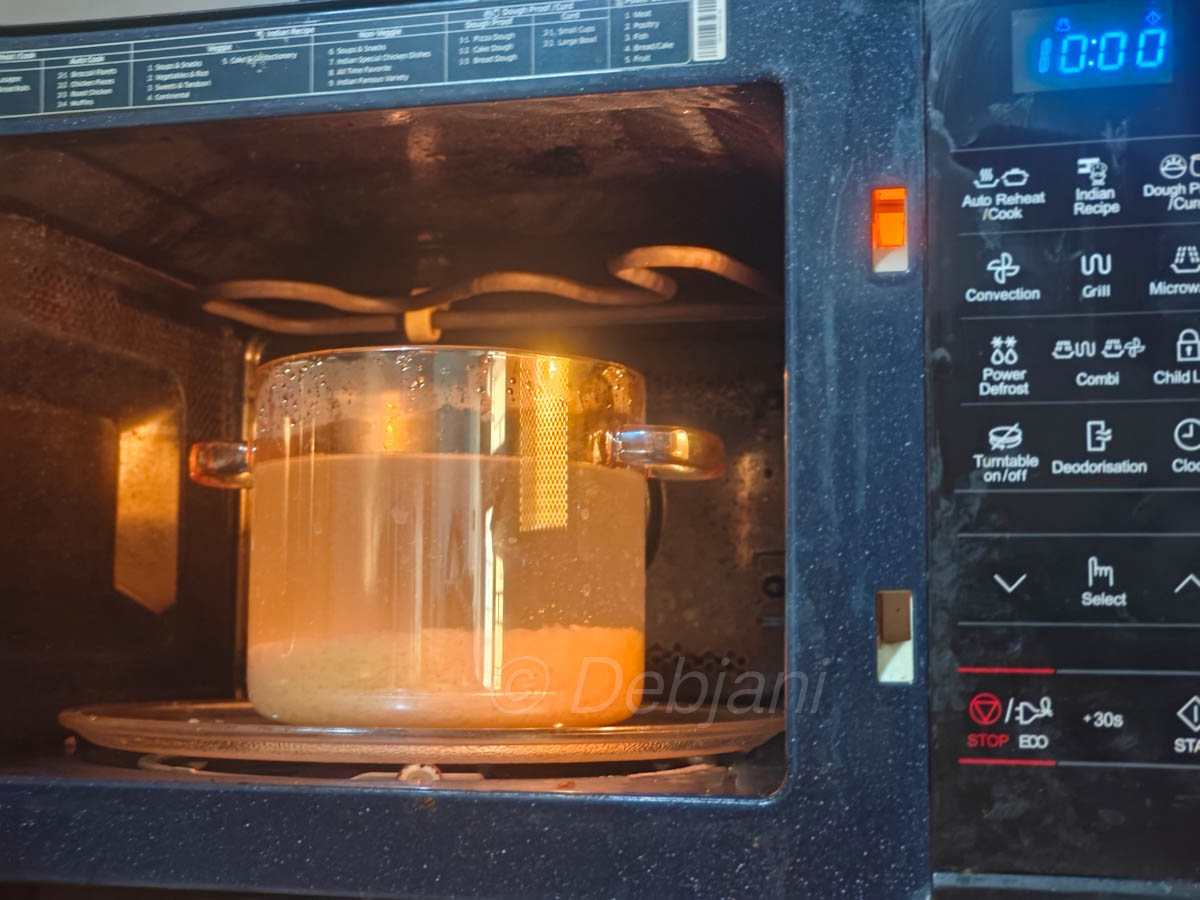
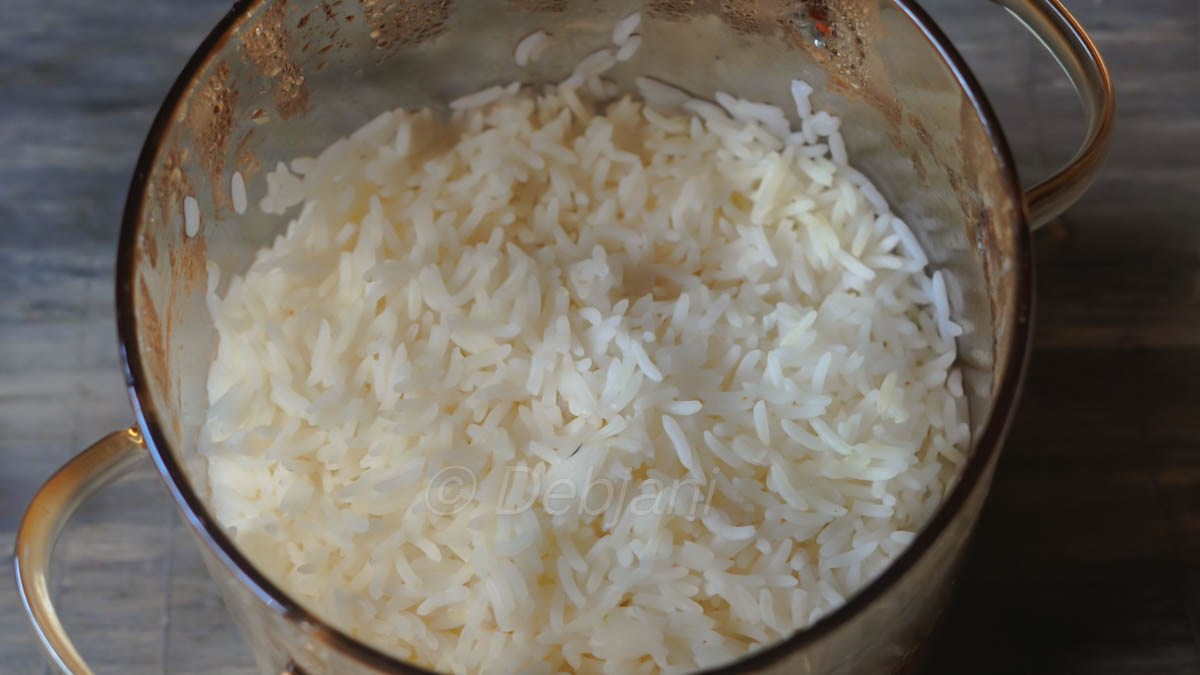
Carefully remove the hot bowl and add the soaked rice.
-
Place the bowl back into the microwave, without the lid, and cook on high (900 watts) for 10 minutes.
-
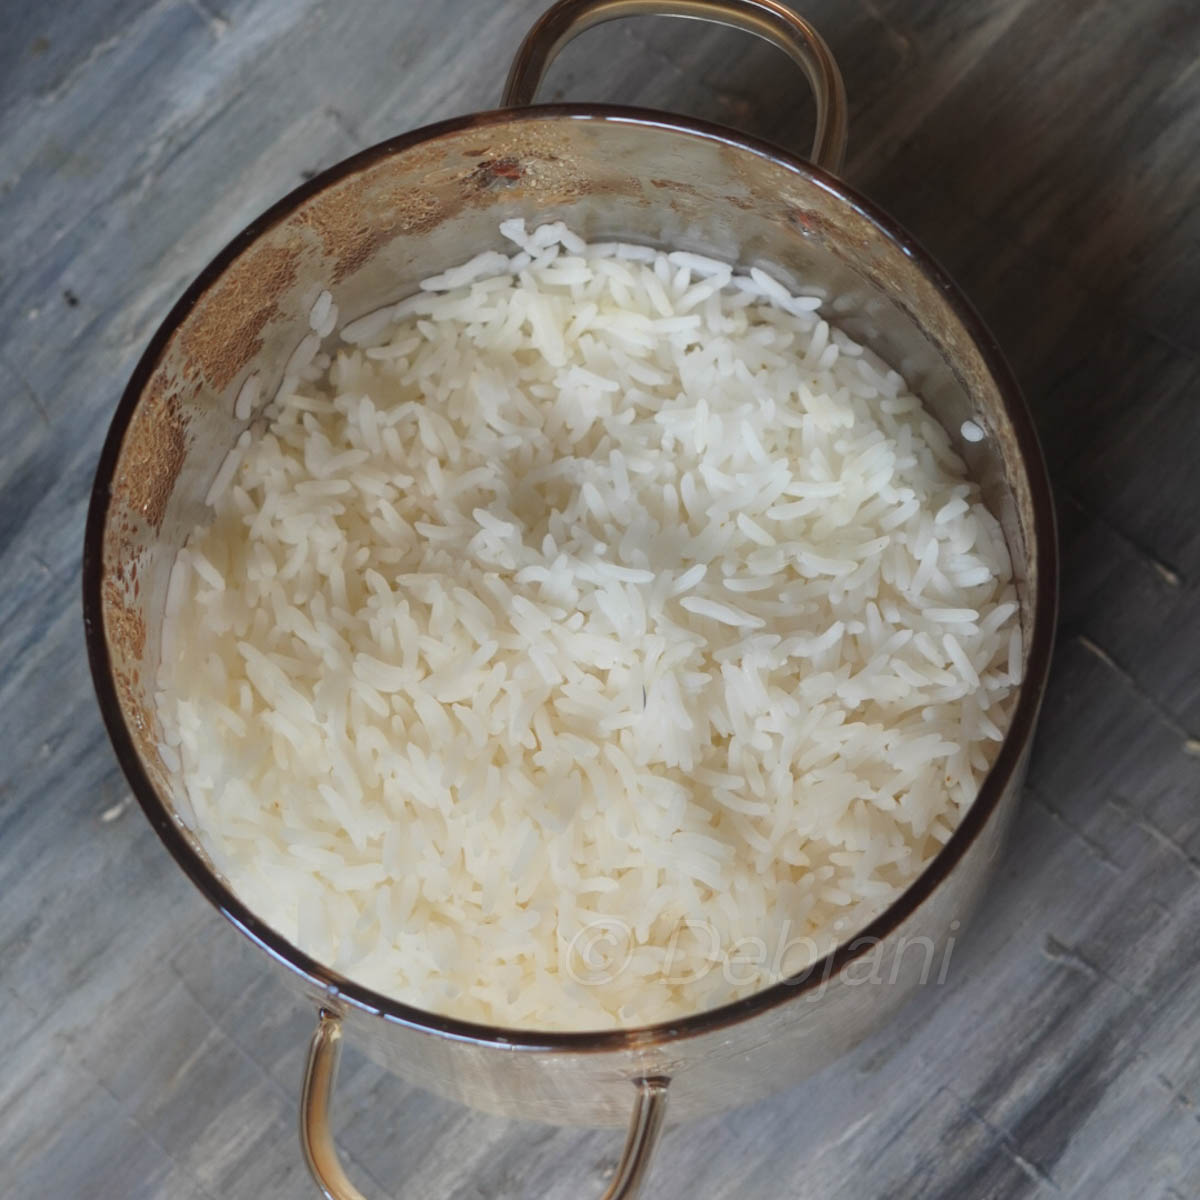
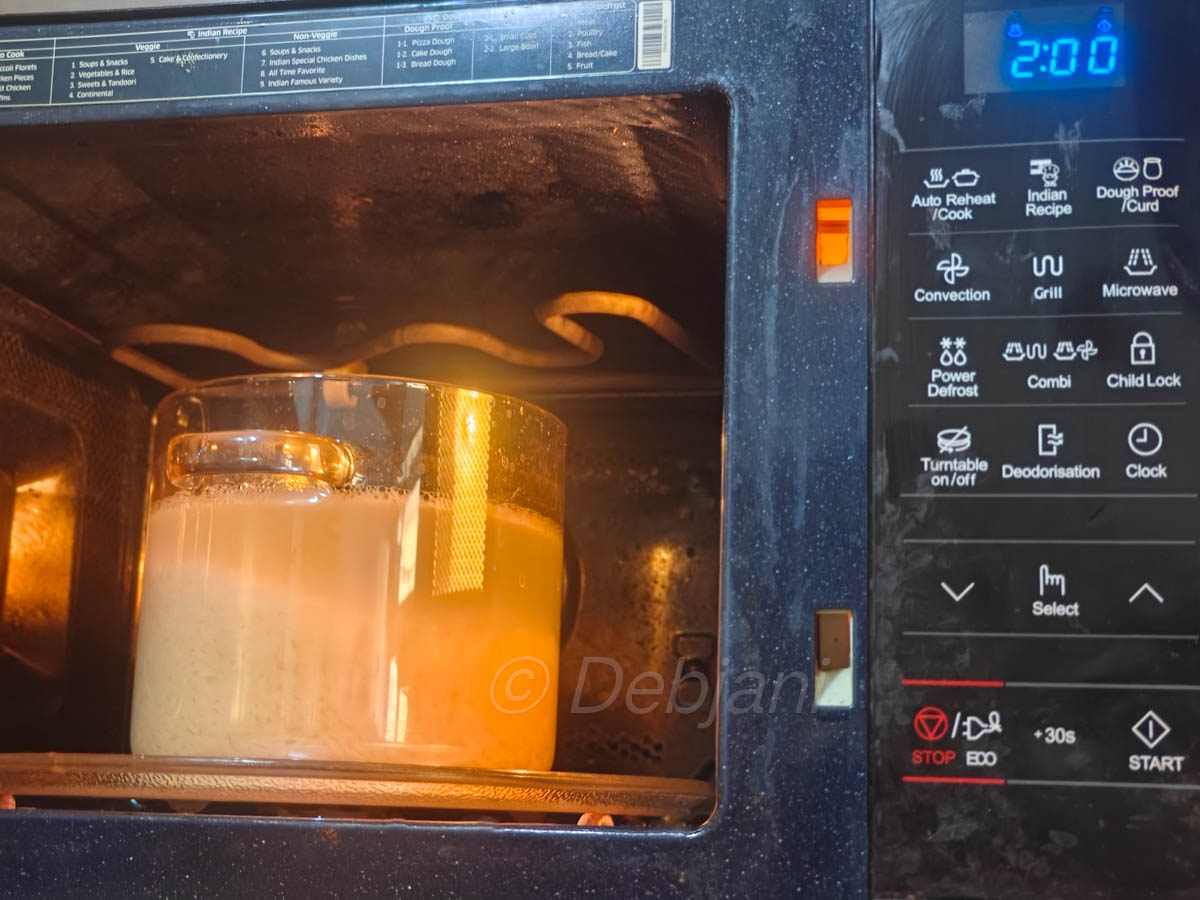
Take the bowl out and stir the rice with a spoon to ensure even cooking.
-
Then, return the bowl to the microwave, again without the lid, and cook for 8 minutes on a lower temperature (450 watts).
-
). I found it helpful to cook the rice for an additional 2 minutes on low heat (450 watts). You might need to adjust this last step depending on the specific variety of sheddo chal - parboiled rice you are using.
-
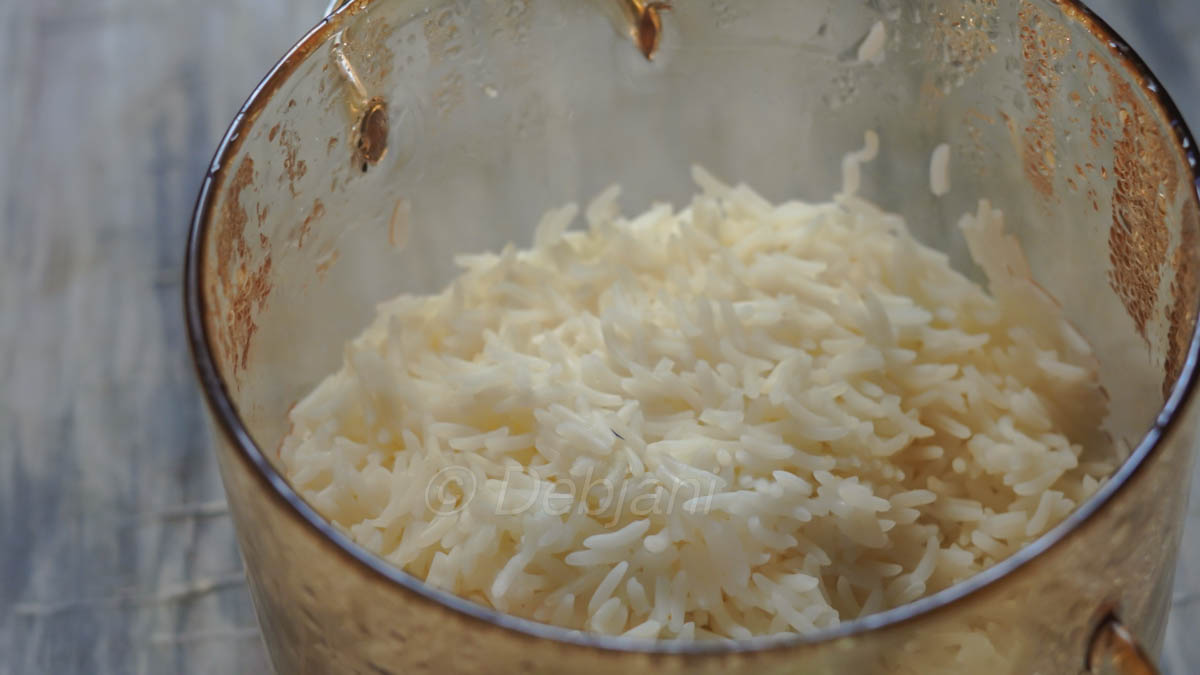
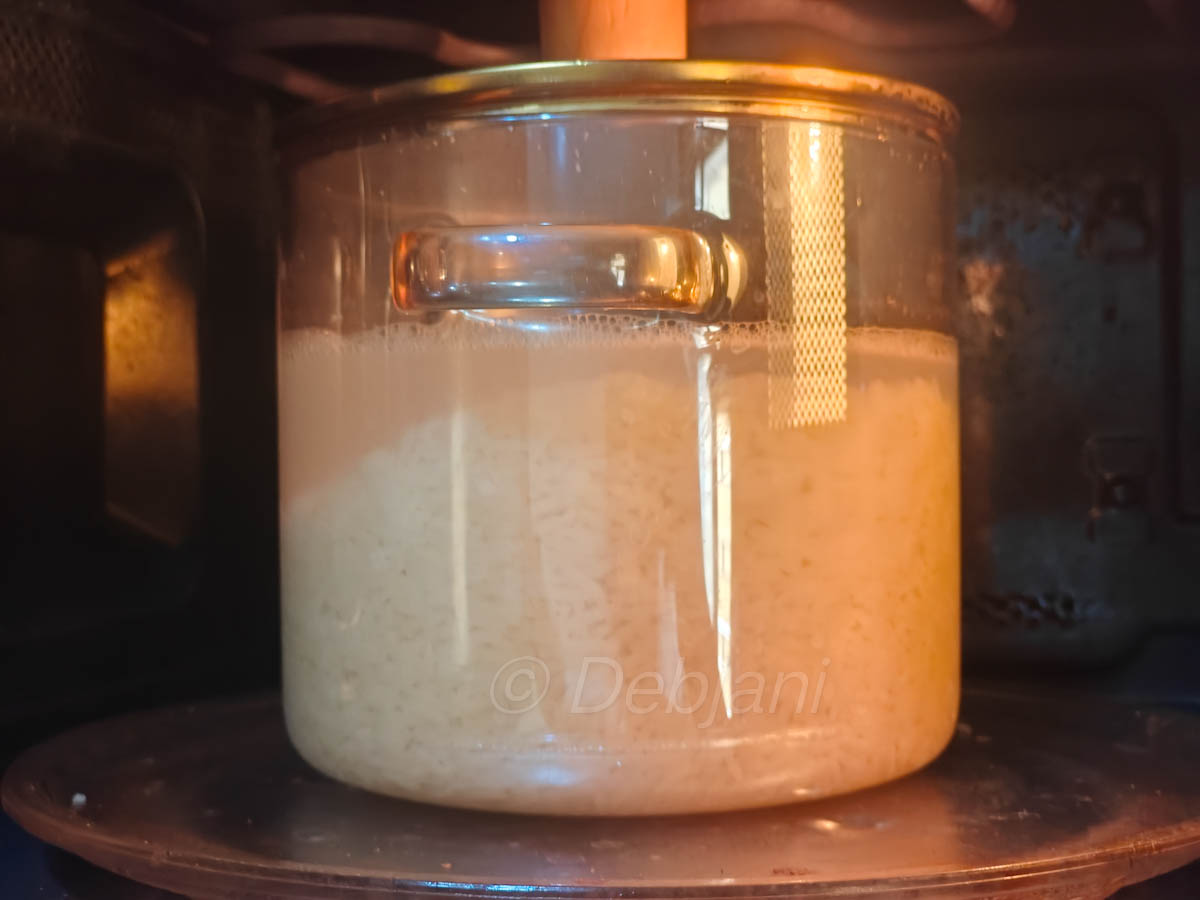
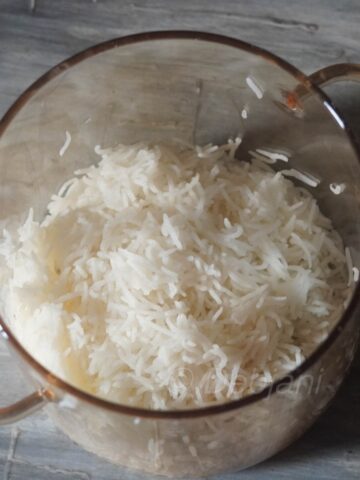
Let the rice sit for five minutes without cooking before draining the water. This step helps with the cooking process.
-
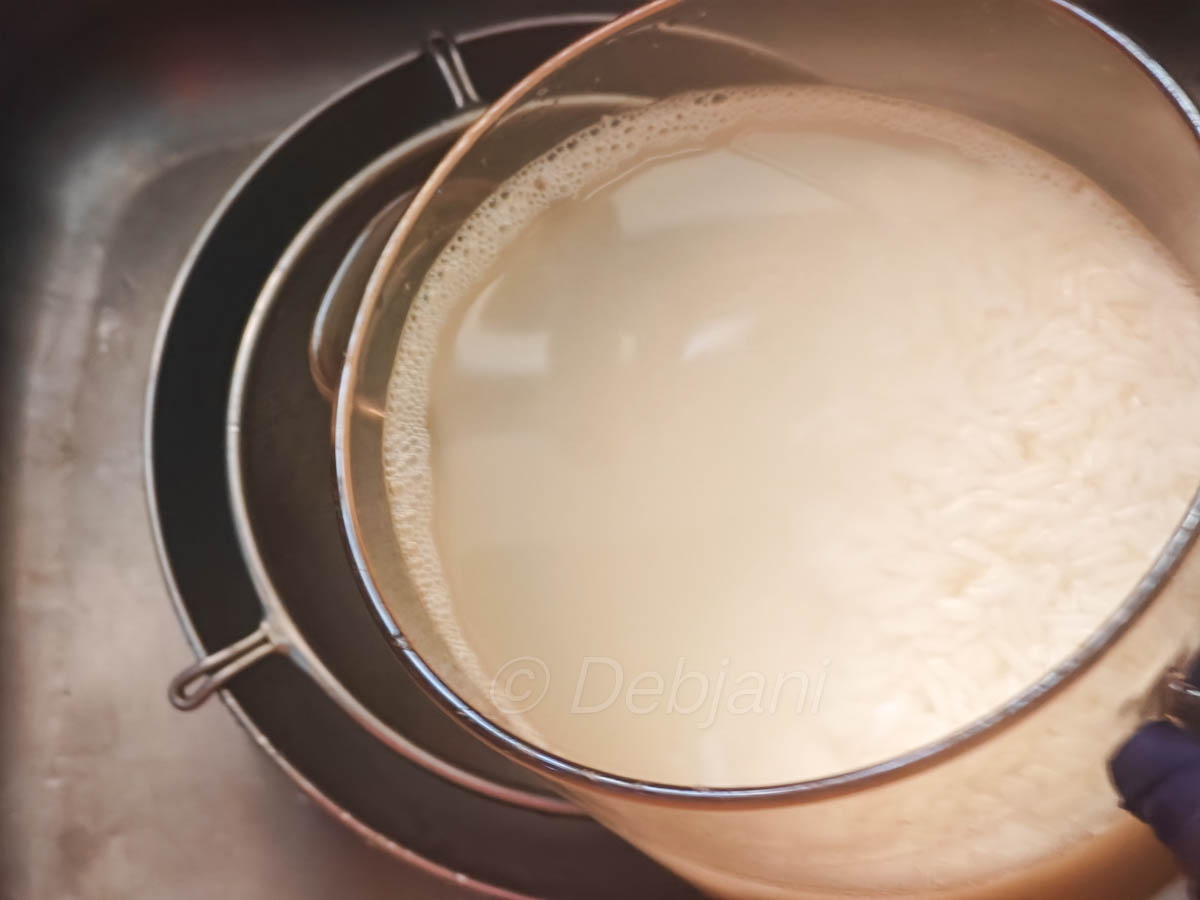
Next, use a strainer to remove the starchy water from the rice.
-
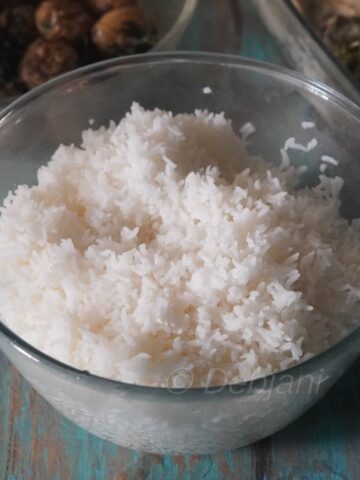
. Once the starch is discarded, your perfectly cooked microwave rice is ready to enjoy.
-
Here! The perfect Seddho Chaler Bhat cooked in a microwave is ready to serve!
Frequently Asked Questions
'Seddho chal' is parboiled rice, meaning it has been partly boiled while still in its husk before being milled.
Parboiled rice, also known as "seddho chal," is a healthier alternative to regular white rice.
Several varieties of parboiled rice are commonly used. In Bengali cooking, popular choices include Banskathi (Siddho), Miniket, and Dudheswar. Additionally, special varieties like Gobindobhog, Tulaipanji, Karpurkanti, Rupshal, and Kanakchur are available as both parboiled (Sheddho chal) and white (Atop chal) rice. Other famous options are Ponni Parboiled Rice and Sona Masoori (Parboiled). These varieties also come in various price points and quality levels.
Related Rice Recipes
Looking for other recipes like this? Try these:

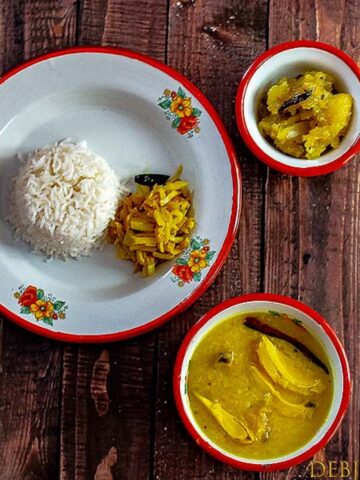
Pairing
These are my favorite dishes to serve with simple bhat:

Recipe Card
Seddho Chaler Bhat in Microwave | How to cook Parboiled Rice in a Microwave
Ingredients
- 200 g seddho chal / parboiled rice I used premium Banskathi Rice
- Water to cook rice
Instructions
- Here's how to perfectly cook parboiled rice in the microwave. We'll be using regular premium Banskathi rice, about 1.5 cups or 200 grams.
- First, wash the rice thoroughly under running water three or four times until the water runs clear.
- Then, let it soak in water for 30 minutes before you start cooking.
- Grab a deep, microwave-safe bowl or pot with a lid. Fill about half of it with water; you can even go up to two-thirds full if you prefer.
- Now, heat this water in the microwave on high (900 watts) for 5 minutes.
- Carefully remove the bowl and add your soaked rice.
- Place the bowl back in the microwave, but this time without the lid, and cook on high (900 watts) for 10 minutes.
- Take the bowl out and stir the rice with a spoon to ensure even cooking.
- Put the bowl back into the microwave, still without the lid, and cook for another 8 minutes on a lower setting (450 watts).
- I found that my rice needed an additional 2 minutes on low (450 watts), but you might need to adjust this depending on the type of rice you're using.
- Let the rice sit for five minutes without cooking before draining the water; this will help it cook better later.
- Next, use a strainer to remove the starchy water.
- Once the rice is drained and the starch is gone, your perfectly cooked microwave rice is ready.
- Serve gorom bhat with your choice of side dishes.
Notes
- Seddho chal is parboiled rice that has been partially boiled while still in its husk before being milled. Parboiled rice, also known as "seddho chal," is a healthier option compared to regular white rice.
- At my home, 200g of rice is usually enough for three people, as we eat moderate portions. However, you might need to cook more depending on individual appetites, as people's serving sizes vary greatly.
- If you plan to store cooked rice in the refrigerator, place it in an airtight container for up to one or two days.
- The cooking time for parboiled rice (seddho chal) varies by type. For example, premium Banskathi rice took me 20 minutes to cook in the microwave after adding the rice. Generally, parboiled rice needs at least 15 minutes of cooking. After that, increase the cooking time minute by minute until you achieve the desired consistency.
- This recipe demonstrates cooking rice by draining the starchy water, which is a common method. Alternatively, you can use an equal amount of water to rice to avoid discarding any water.
Nutrition
Have you tried the Seddho Chaler Bhat cooked in a microwave from Debjanir Rannaghar!
Please inform me of your experience, and feel free to send a photo to [email protected]. Additionally, you can find me on various social media platforms such as Instagram, YouTube, Facebook, Pinterest, Google News, X, and Thread. Don't forget to use the hashtag #debjanirrannaghar when sharing your attempts at my recipes or if you have any questions or recipe requests.
Here's the seddho chaler bhat in a microwave Recipe Pin for your Pinterest Board

About Debjani Chatterjee Alam
I am Debjani Chatterjee Alam. A CSR specialist by profession and a food writer, food blogger, and food photographer as well. I live in Kolkata along with my Husband Mehebub who is an architect by profession, my daughter Pasta, and also my dog daughters Coffee and Luchi.


Rima Dutta says
Hi Debjani
Thank you so much for this recipe; it's so, so helpful! You're absolutely right that we Bongs primarily eat "seddho chaler bhat," so the microwave method is a true lifesaver. I've been following your recipes for years and adore your photos. I've noticed lately that you're only capturing food in a very clean, focused way, unlike your earlier posts that included settings and props. Not that these new pictures are bad at all, I'm just curious about the change.
Debjani Chatterjee Alam says
Hi Rima,
That's a very interesting observation, and you're absolutely right! Lately, I've just been taking simple pictures for recipes, focusing on a good view and a clear background. Is this on purpose? Well, yes and no. Food photography is a true passion of mine, and whenever I have the chance, I love setting up all my props and making everything look beautiful yet practical. However, that's not usually possible for all recipes. Most days, I take the food photos when I get home from work. I often prepare the recipes at night or on Sundays and then schedule them to be posted later. Even if I wanted to do more elaborate photography, it's quite challenging with everything else I have to manage. I'm even making fewer videos now because of time constraints. I'm really just doing what I can, making sure the pictures are clear. But as you pointed out, I know I need to get back to my preferred style of food photography. We'll see! By the way, thank you for your feedback; it truly gave me a boost.